Antimony Ministrix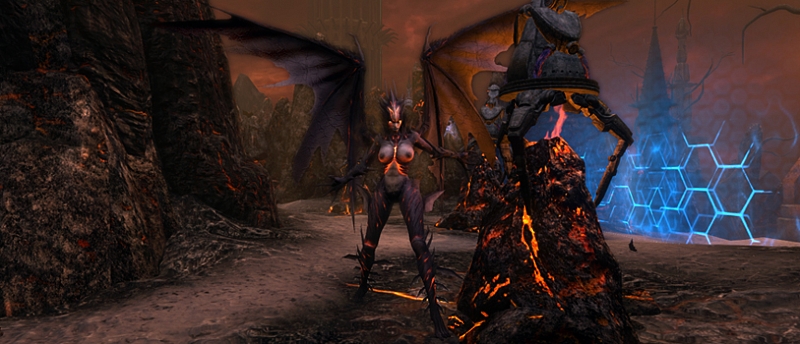 |
||
|---|---|---|
|
Attack type |
Minion spawns |
Enrage timer |
|
The first important danger to be aware of is the towers. They will continually deploy purple effects of doom, rotating around the battlefield. This means that the tank will have to move the boss around and around to avoid everyone dieing from that. Basically, the group needs to be on the move during the whole fight. Macroshock - An ability she casts on a random person in the group. This attack deals a fair amount of damage. The healer should be prepared to heal those who are hit by this. Keep going at her until her health depletes and the battle ends. |
||
Elite 5 - 10 MechanicsIn the difficulties Elite 5, 6, 7, 8, 9 and 10, it is very important to watch out for the Macroshock ability. In these harder difficulty modes, this attack deals significantly more damage. Ideally, if a DPS or healer gets targeted, they should try to hide behind the nearest tower to break line of sight. The healer should be prepared to heal the targeted player immediately. |
||
Corroder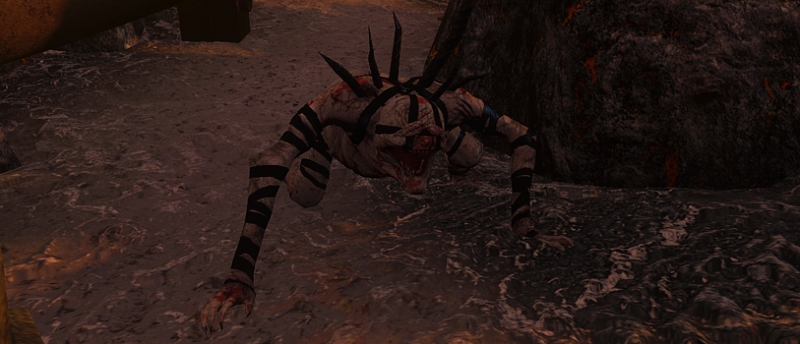 |
||
|---|---|---|
|
Attack type |
Minion spawns |
Enrage timer |
|
This boss is by far the easiest one in the whole dungeon. Let the tank go and get the boss. All team members except the tank needs to stand right behind this boss as he will damage everything and everyone in front of him with his cleave attack. Caustic Outpouring - The boss will spawn an AoE attack that has a safe zone close to him. Everyone needs to stand close to the boss. The tank will remain in front the boss and everyone else will stand behind it. Aside from that, this fight is fairly straightforward. Just keep going until the fight ends. |
||
Elite 5 - 10 MechanicsIn the difficulties Elite 5, 6, 7, 8, 9 and 10, the Corroder's basic attack is a cleave attack. This means that it can hit multiple targets in front of it. Because of that, it's important that the DPS and healer stand behind the Corroder. It's very important that everyone stay inside the bubble around the Corroder when it casts the Caustic Outpuring ability, as this attack deals a fatal amount of damage in the harder Elite modes. |
||
Hardwired Fleshtank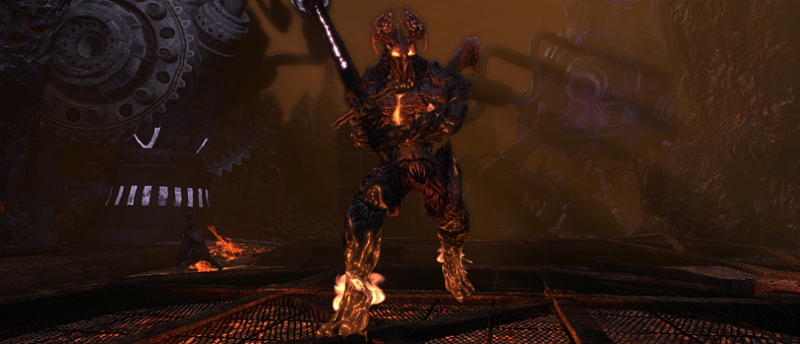 |
||
|---|---|---|
|
Attack type |
Minion spawns |
Enrage timer |
|
This boss is a little trickier. The five platforms will alternately catch fire and damage everyone standing on them. Move around with the boss to platforms that are safe. Eventually, all platforms will catch fire simultaneously which marks the end of the DPS test. You should defeat the boss before this as it is quite hard to stay alive when all platforms lit up. Searing Brand - A powerful single target attack that the tank can interrupt with an impair/hinder ability to avoid. The boss will continue to periodically cast this ability. If the healer is powerfully geared, it is possible that you don’t need to move around as the healer could be strong enough to heal everyone through the damage dealt by the fire. That is pretty much everything about this boss. It is quite straightforward, just keep moving away from burning platforms and drop the boss’ health until the fight is over. |
||
Elite 5 - 10 MechanicsIn the difficulties Elite 5, 6, 7, 8, 9 and 10, the Searing Brand attack will deal significantly more damage. The tank should definitely interrupt that ability from being cast. The platform fires will also be more dangerous. |
||
Traumadriver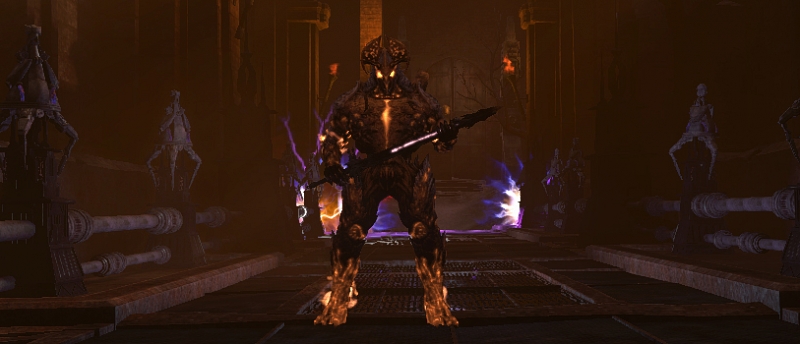 |
||
|---|---|---|
|
Attack type |
Minion spawns |
Enrage timer |
|
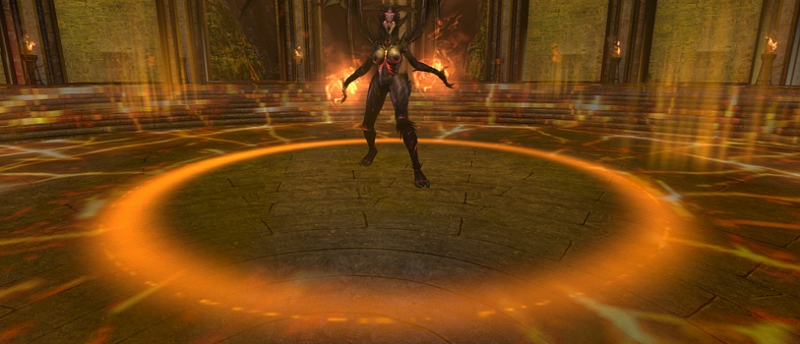
This is a pure DPS race with the most important task being to take down the boss as fast as possible before the threatening fire coming from behind fills up the whole arena and kills everyone. This boss casts two dangerous abilities: Stripmine - A dangerous AoE attack that the boss use against a random player in the team. This ability will deal a significant amount of damage to anyone caughtby it. Avoid this attack at all cost. Searing Brand - A powerful single target attack that the tank can interrupt with an impair/hinder ability to avoid. The boss will continue to periodically cast this ability. Avoid the purple effects of doom placed alternately by the towers along the walls. Keep dropping the health of the boss until you are victorious. |
||
Elite 5 - 10 MechanicsIn the difficulties Elite 5, 6, 7, 8, 9 and 10, the Searing Brand attack will deal significantly more damage. The Stripmine attack is fatal to anyone caught by it. Avoid it at all costs. This boss gains a new ability in these harder Elite difficulty modes: Molten Metal - A large AoE attack that hits moderately hard and also puts a flame debuff on everyone near the boss. This debuff keeps reducing your Health. The debuff can be cleansed or healed through if the healer is strong enough. However, the best approach is to keep a distance from the boss to avoid the attack altogether. |
||
Recursia, many-in-one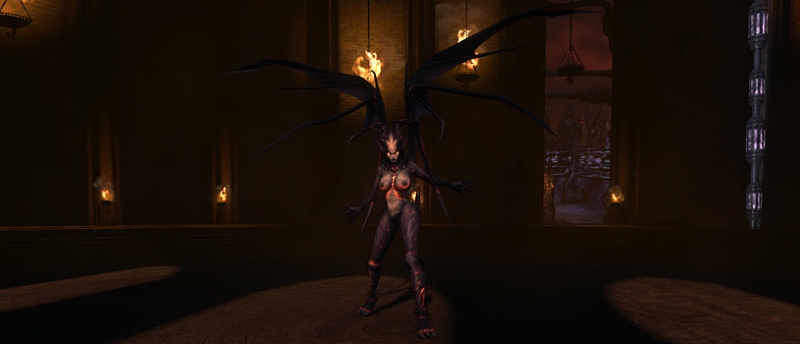 |
||
|---|---|---|
|
Attack type |
Minion spawns |
Enrage timer |
|
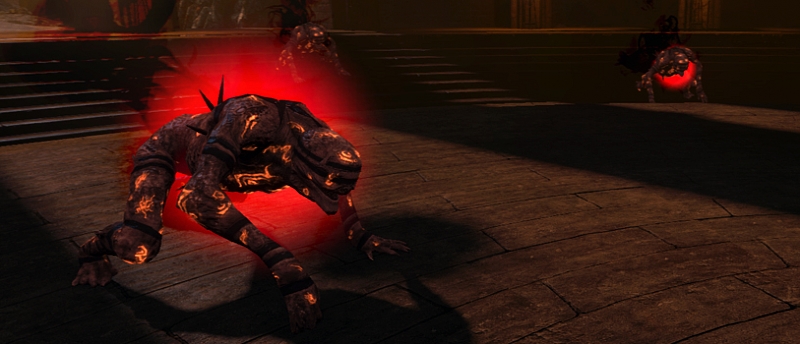
This boss will also test the DPS skills of your group. There will be periodic interludes (can be called phases) with adds that will slowly move against the boss. If they reach the boss, they will nuke the battlefield and kill everyone. Phase 1Arcane Halo - An AoE attack that covers the whole battlefield. There is a safezone near the boss, but the tank can easily impair her to stop this attack from playing out.
Macroshock - An ability she casts on a random person in the group, dealing a fair amount of damage. The healer should be prepared to heal those who are hit by this. Infernal Criticality - This is the ability that will initiate Phase 2 the first time, then Phase 3 the second time and Phase 4 the last time. This ability simply cannot be interrupted. Continue to read below about the various phases. Phase 2Recursia will position herself in the middle of the battlefield and become untargetable. Adds will spawn near the wall that stretches all around the room. They will attempt to reach Recursia, and if they do, they will produce a nuke that will kill everyone. Stop them from reaching her to continue the fight with Recursia herself. Returns to Phase 1 after all the adds have been stopped.
Phase 3Same as the previous interlude, however, more adds will spawn this time. Spread out and take out all the adds as they crawl towards Recursia. Returns to Phase 1 after all the adds have been dealt with. Phase 4Recursia will spawn adds again, but she will not become invincible this time around. Focus on killing her as fast as you can before the adds reach her. |
||
Elite 5 - 10 MechanicsIn the difficulties Elite 5, 6, 7, 8, 9 and 10, the Macroshock attack will be more deadly as with the first boss. Furthermore, the adds in Phase 2, 3 and 4 will cause a fatal blow to most players if they are allowed to reach the boss. In the adds phases, you should avoid hanging out too close to Recursia as she will periodically place a temporary area spell on the ground that will make all adds that crawl inside invincible for as long as they are inside. If you attack any enemies protected by that shield, the damage will be reflected back at you. Having this placed near Recursia can be catastrophic. |
||
The Machine Tyrant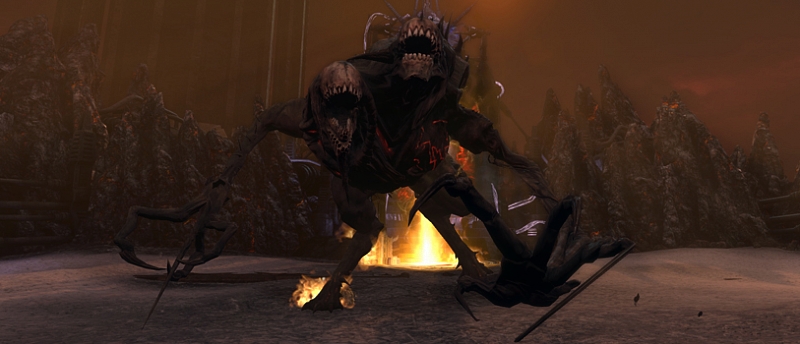 |
||
|---|---|---|
|
Attack type |
Minion spawns |
Enrage timer |
|
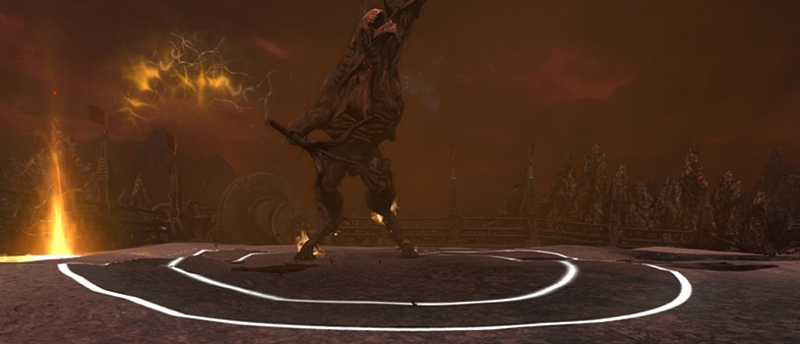
The Machine Tyrant’s main attack is a nameless single target attack. This boss also has a few special abilities / mechanics: Demolish - A large and powerful AoE ability that should be impaired or avoided.
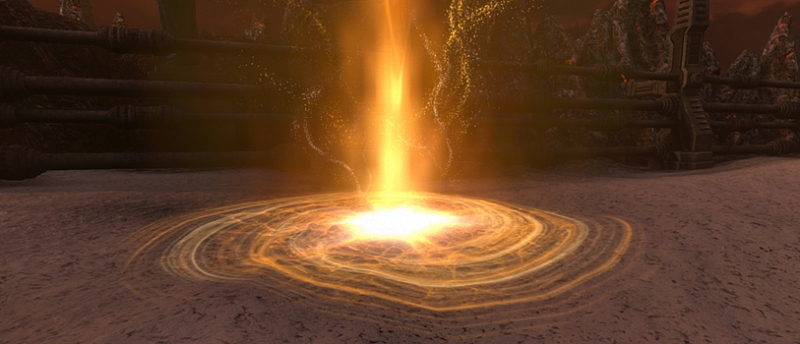
ShieldThis boss is shielded by the large portal tower. In order to deactivate the shield temporarily, make the boss step into the anima well that appears on random locations on the battlefield. The boss will then lose the shield temporarily, which makes him vulnerable to damage.
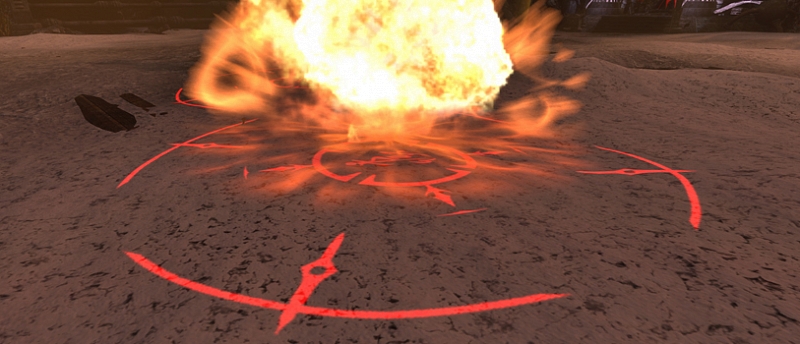
Firmament BarrageLarge red circles will periodcally appear on the ground and chase a random player. The area inside the circle will continuously be bombarded. Avoid it or you will die. More and more of these will spawn later into the fight and will follow different players.
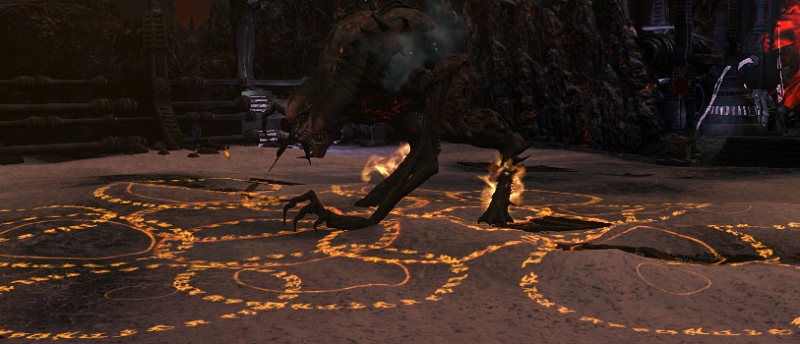
Wave of ImmolationWell into the fight, the boss will begin to sometimes run to the centre of the battlefield and shoot rockets that will hit extremely many places of the battlefield. You should run to the one of the corners in the arena to avoid these attacks as they are extremely hard to avoid since they cover all the ground near him.
|
||
Elite 5 - 10 MechanicsIn the difficulties Elite 5, 6, 7, 8, 9 and 10, the Demolish attack is fatal. Cleave - In these harder Elite modes, the Machine Tyrant's basic attack is a frontal cone cleave attack instead of a single target attack. This means that anyone standing in front of the Tyrant will take damage. Only the tank should be directly in front of it. The Shield will reflect incoming damage. It's very important to cease fire when the Tyrant is about to regain its shield. Let the tank guide the Tyrant to the next anima pool to take its shield down. In Elite 5-10, the Machine Tyrant gets an enrage timer buff that starts counting down to zero when the fight begins. If the fight goes on for too long, that buff will expire and cause the Machine Tyrant to become enraged. This usually results in defeat. |
||