Neuromancy and the Art of Making Friends
Posted by on September 18, 2017.
Last updated by on October 8, 2017.
TIER 1
Objective: Make your way to the nearby rooftop
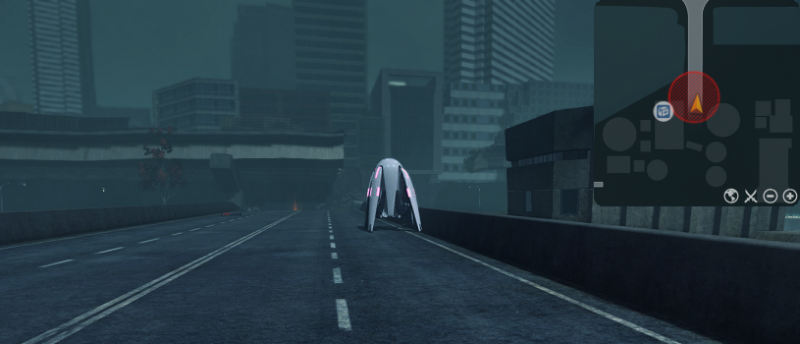
Head out of the apartment complex and across the Quarantine Wall. Go behind the large tank near the CDC camp in the Quarantine Area and make it to the back of the building facing the Wall. An elevator has been left open and is freely accessible (920,515). Enter the lift and press the call elevator button.
Hit the 5th floor button. You want to go up, after all. Exit the elevator and be on your way!
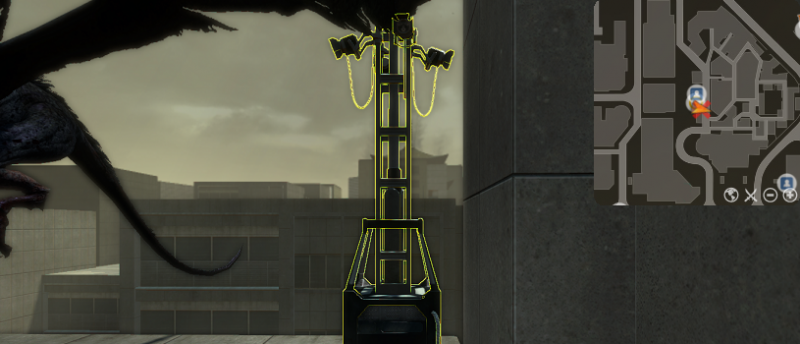
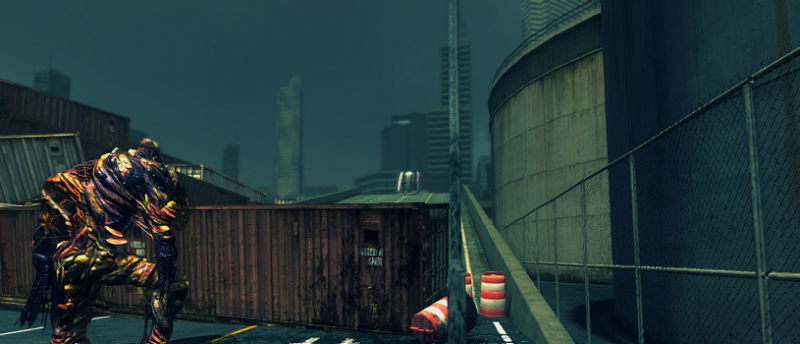
Objective: Reach the satellite uplink
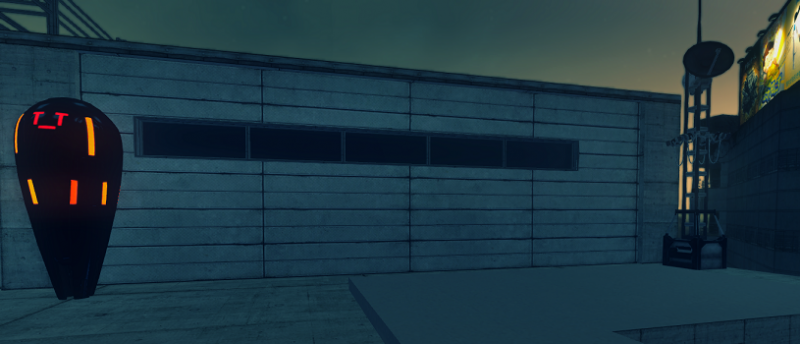
Unfortunately, there are several Orochi Ranged-Pacification Effigies patrolling the rooftop as well as a security light flashing to and fro. It would not be wise to attack one. If caught, you will be dragged back outside of the building. Return to the nearby rooftop if you fail.
Note! The Effigies in this portion of the guide are now Drones, and this guide will soon be updated to reflect the changes.
To evade notice, utilize their automated patrol paths to your advantage.
The first Effigy closest to the elevator paths back and forth from wall to wall. The second Effigy, standing on a corner across from the elevator entrance, does not move. The third Effigy paces up and down in the roof-alley.
Dash past the first Effigy when it begins to walk to the side farther away and pause north of it, so that when it turns around it misses you entirely.
Then when the third Effigy patrols up, follow after it and circle around the building until you get to where Effigy two is. This will be a safe spot as long as you do not move in front of Effigy two, as it doesn’t move.
From there, there are four more Effigies. Make a diagonal beeline toward the satellite while their backs are turned.
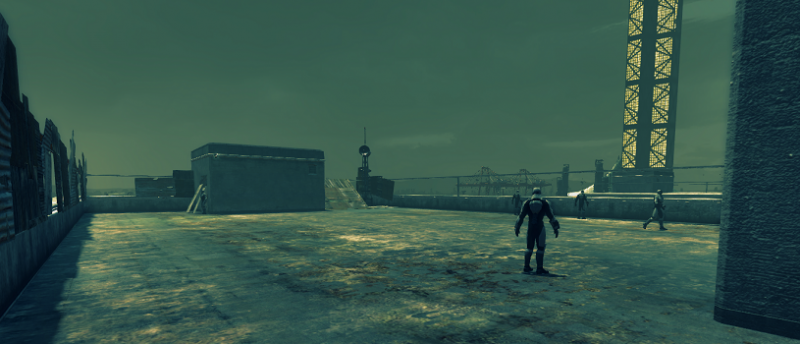
Zoom past the Effigy while its back is to you to the satellite (925,445) by a large ramp.
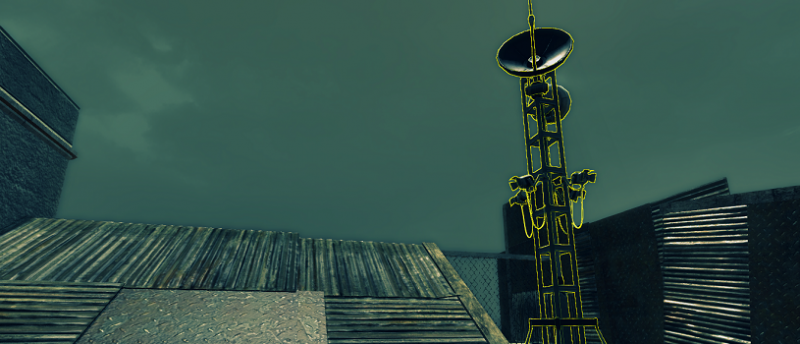
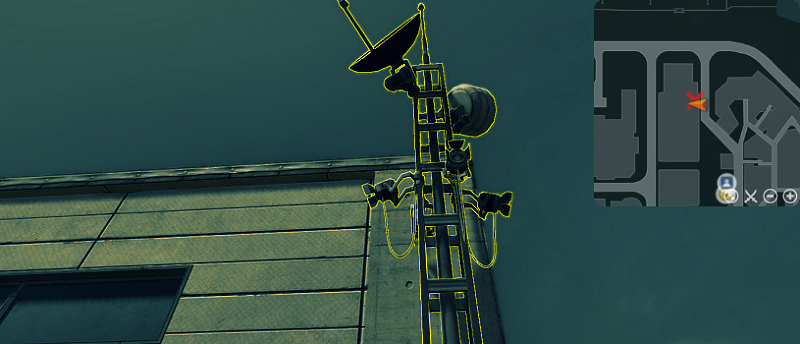
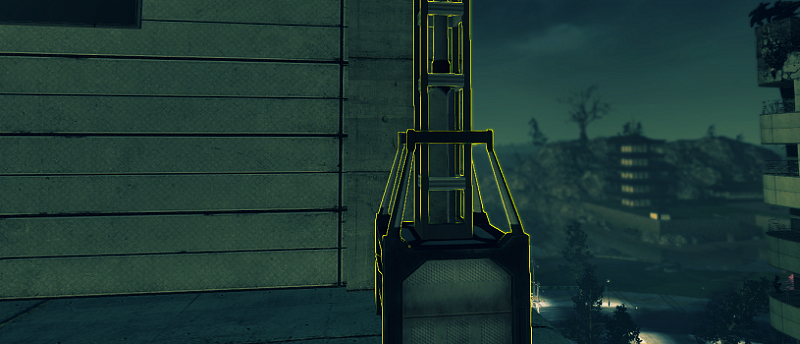
Objective: Upload Rum’s software onto the satellite uplink
Use the satellite uplink for a quick and easy hack into the system.
Hiding on the other side of the rooftop access next to the Satellite Uplink is Trail of Shadows Buzzing #2 (935,440). Climb up the ramp near the satellite and carefully walk the ledge around the roof.
TIER 2
Objective: Go to the next location
Rum texts:
Step one is done! Thanks for uploading my gear into the network. There is a second satellite link I need patching into. I’ve marked it on your map. Shake those happy feet! …please =)
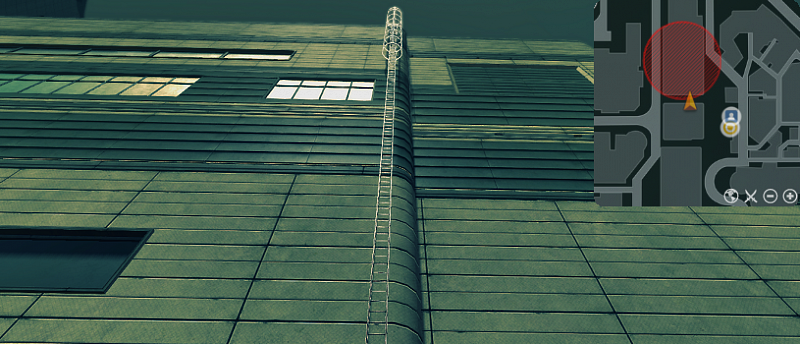
Rum has kindly given us the location for our map. The building is one of two between the Dram Palace and the Kaidan Mall. Access the roof from the ladder in the alley at (620,670). It is quite the long ladder.
Objective: Reach the next satellite uplink
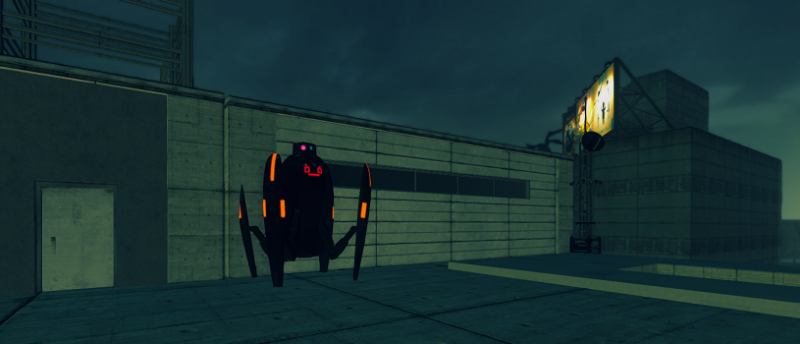
This time, there are Orochi Melee-Pacification Effigies guarding the most convenient corners. Take the farther corner of the roof instead to avoid their harsh blades.
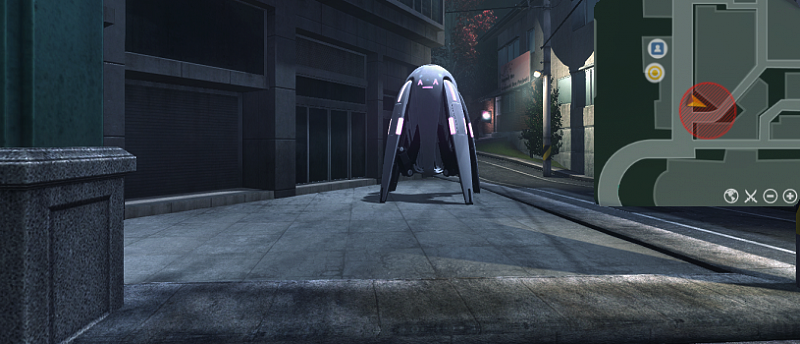
Be mindful of the patrolling effigies and make a dash to the other side (630,760). Near the uplink is a sleeping Smiler mech. That does not bode well….
Objective: Upload Rum’s software onto the satellite uplink
As with before, use the satellite to start hacking. You will be interrupted.
Objective: Survive the assault
Attempting to upload the software causes the effigies to begin an assault to try and stop you. If you don’t survive, you will have to return to the roof and restart the process. There are three waves of Orochi Pacification Effigies followed by an Orochi Razor-Dance Effigy.
Then the Smiler, sitting so innocently before, activates and attacks. Defeat it to survive.
Across from the Satellite along its side of the roof is Trail of Shadows Buzzing #1 (635,720).
Objective: Upload Rum’s software onto the satellite uplink
Finally, you can upload the software in peace.
A Room Key by a corpse (630,680) on the satellite side of the roof starts The Corpse and the Key.
TIER 3
Objective: Go to the next location
Rum texts:
Bam! You did it again. Signal is still wonky. I need you to do this one more time. There’s another satellite link. It’s on a rooftop. I’m marking it on your map. I think that building is locked up, so you may have to get creative.
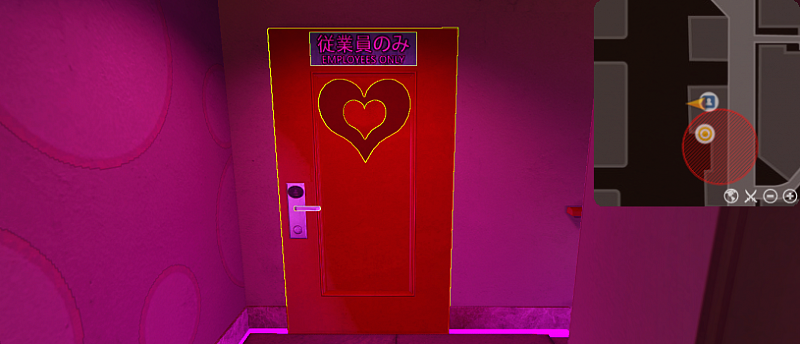
The next location is the Dream Palace itself. On the third flight of stairs (675,640), there is a door that says “Employees Only”. That looks promising.
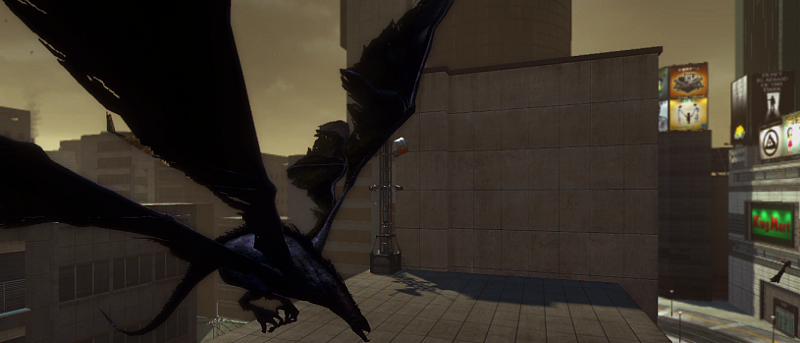
It takes you to the roof, where a Bird of the Zero Point Pathogen swirls above, circling like a vulture for its next meal: you.
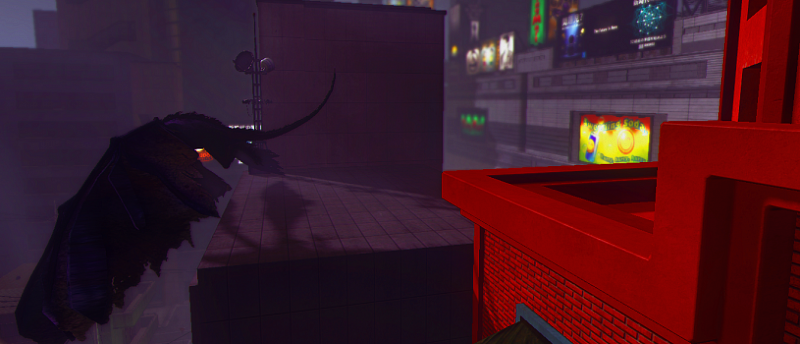
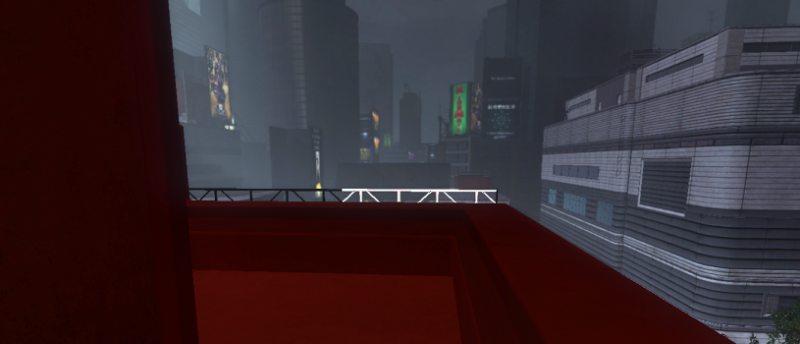
There are some handle on the edge of the roof (670,645) to cling on to and make your way around the roof while out of the bird’s hawkish gaze. Use it to get to the other side of the roof closer to the satellite.
Objective: Reach the next satellite uplink
While closer to the satellite, there is still the bird to worry about. It swoops back and forth near the satellite (690,610), eager to catch you as you try to run across. Try to dash past while the bird is on the retreat.
Objective: Upload Rum’s software onto the satellite uplink
Out of the Bird’s vicious, prying claws, upload the software. There are no interruptions to be had.
TIER 4
Objective: Investigate the suspicious mech
Rum texts:
I’m in! We’re in! Everyone’s in! Happy-happy-joy-joy! I owe you. But you owe me too. We’ll have to add it all up. If you’re still in the red, I accept payment in the form of BINGO-BINGO-BINGO! But check it out. Sending you a pic. Something I picked up. You’re being watched by something. Something with hungry camera eyes. Maybe check that out, right?
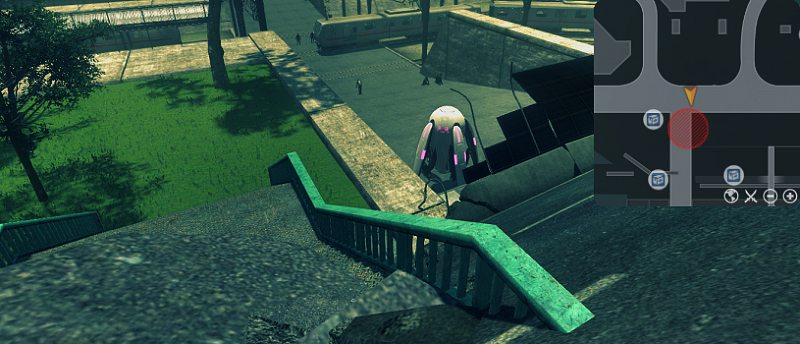
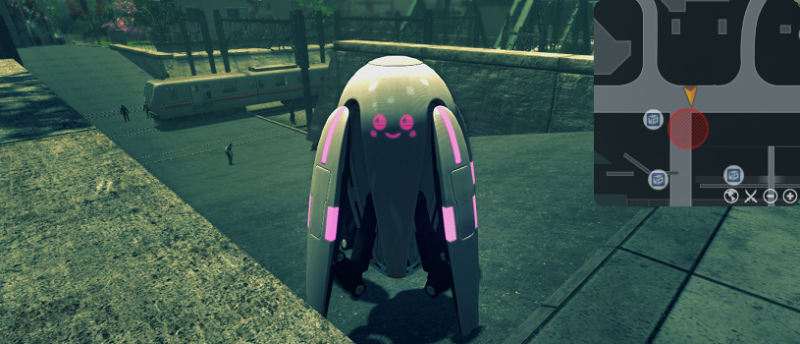
Drop down the roof and head to the location that the image Rum shared seemed to be sent from (710,600). There is a large, pink Smiler there, watching with hungry eyes. As soon as you get close, it runs.
Objective: Pursue the suspicious mech
You only have two minutes to chase after the wily thing. Make haste!
Pursuing the suspicious mech is on a two-minute timer. To save time, you can write its path down beforehand.
It first stops at the top of the road (755,630), but runs off as soon as it’s spotted. From there, it stops at (790,63). The infuriatingly fuchsia Smiler takes a right turn and goes down a brick alley (750,595) hanging by a lamp. Then it darts out of the housing area and down the road (660,570). Easily spotted, the wayward mech rushes to the stairs near the ruined wall (750,445). With nowhere else to go, it clambers over the rubble (740,415).
Objective: Confront the suspicious mech
Clamber down the crumbling wall and approach the suspiciously pink smiling murder-machine (740,385).
Objective: Continue pursuing the suspicious mech
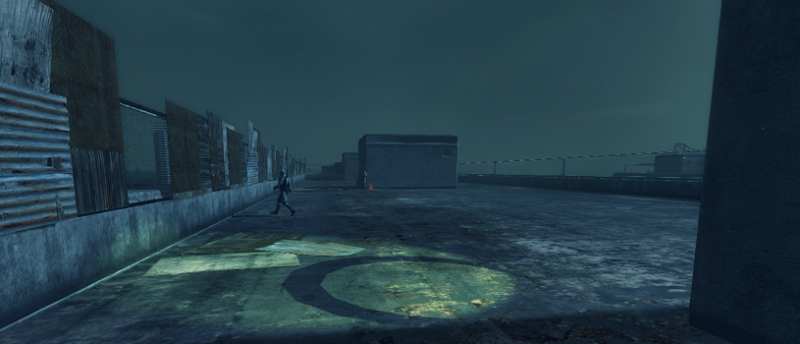
Confrontation only leads to disaster, as the mech runs off into the train yard as soon as you get close. It plays the same game as before, running whenever you see it.
First, takes a right behind the train, going down the train yard and waiting on the mech-infested train bridge at (555,335). Then it goes around and into the harbor near the Gateway to Orochi Tower and waits in the fungal-infested harbor (445,195). After that, it takes another turn toward the front of the harbor (390,210). With nowhere else to flee, it heads toward the bridge (390,265).
Objective: Confront the suspicious mech
Finally the mech has stopped its erratic movements. Begin to approach it on the bridge (390,315). It won’t run away this time.