First of all, you will need the monocle from preceding mission, Carnival of Souls, to complete this mission.
Tier 1
Objective: Decipher Nathaniel Winter’s Last Will and Testament
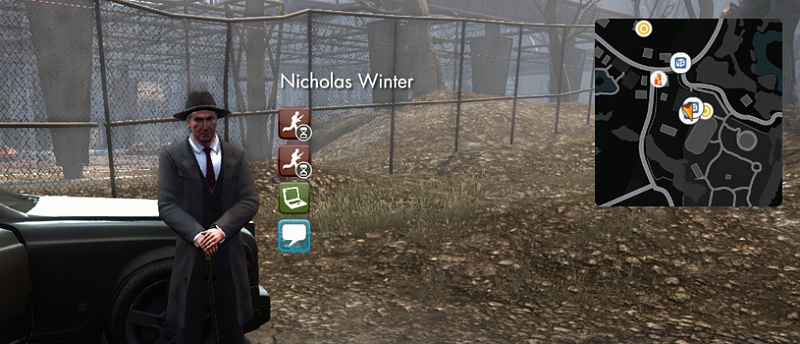
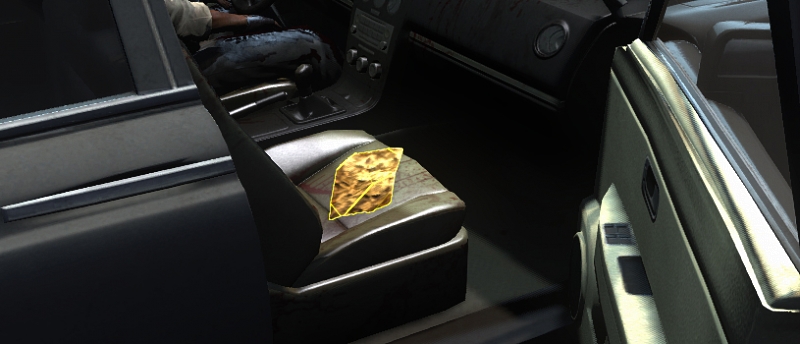
You need to pick up the will first. It is in the passenger seat of Nicholas’ car. You can open it from your inventory to examine it.
Consult the hint and solution below if you are having trouble figuring out what to do.
Perhaps the monocle will be useful here.
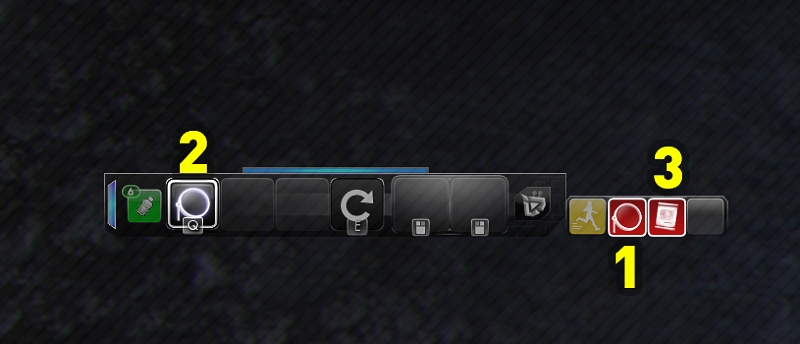
Use the monocle to replace your ability bar with a new bar. On this alternate ability bar, you can modify and apply the lens of the monocle. Apply the clear lens, then re-examine the testament.
Objective: Go to the location hinted at in the will
Once more, consult the hint and solution below if necessary.
The cryptic message in the testament hints a nearby location.
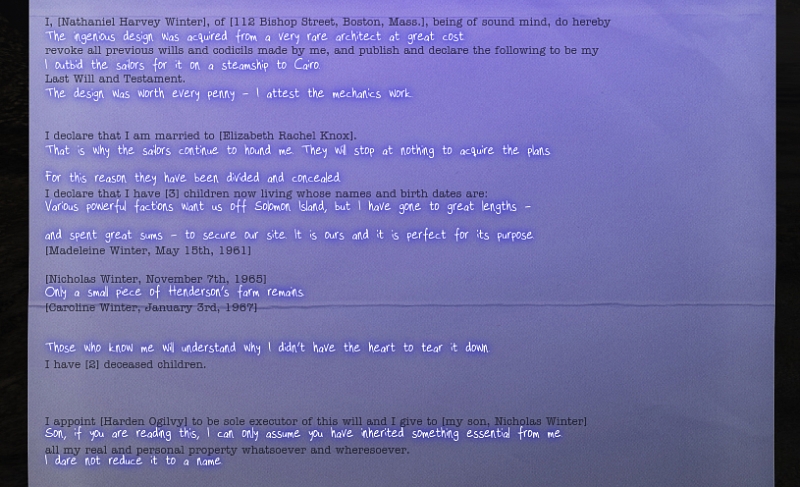
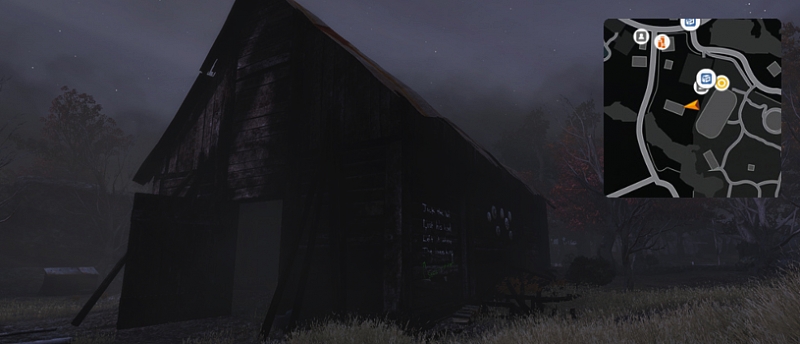
The only location in the will is “a small piece of Henderson’s farm”. The remainder of the farm is south and west of the parking lot. The place we need to be is in the barn at (510,565), south of where Nicolas stands.
Tier 2
Objective: Search the barn for the first part of the plans
The plan is on the floor in the barn. It is possible to reach them without having to fight Blackchaff at the back of the barn.

Objective: Find the second part of the plans
The plans are now in you inventory. Examine them.
At a glance they will not show you anything useful, but there may be a way to examine it closer.
Activate the monocle before examining the plans. Then you will see a glowing pattern on the map.
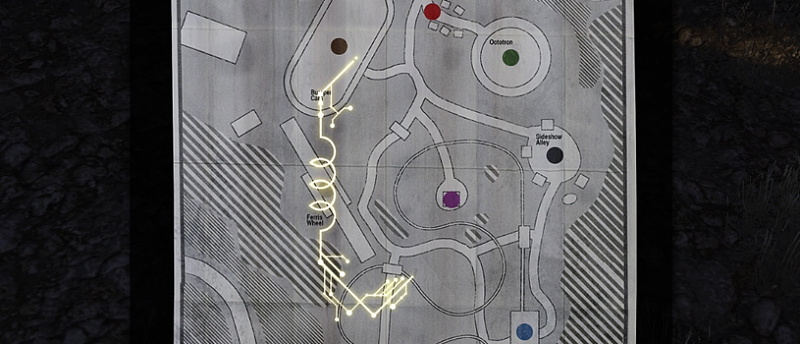
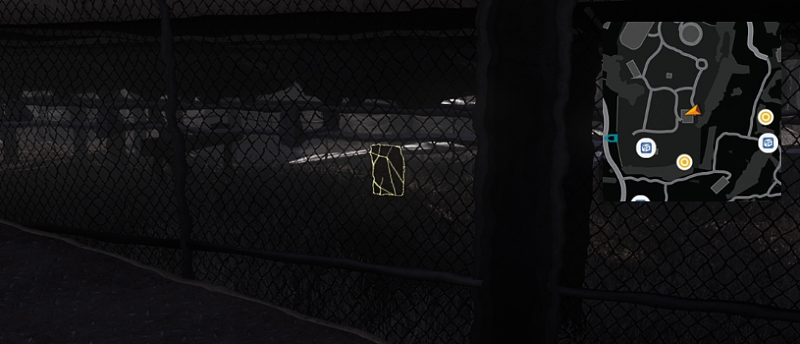
With the monocle effect active, follow the white markings on the ground to the bumper cars arena's southern fence. On the outside, you will find the second part of the plans.
Tier 3
Objective: Find the third part of the plans
New plans in your inventory to read, but nothing interesting on them. Yet.
Let’s follow the white markings on the ground a bit farther. They will take you past the Ferris wheel where you can see some red glass on the platform. Pick up some red glass.
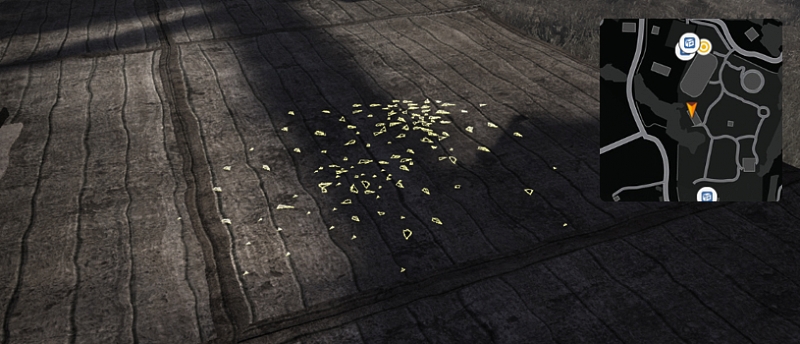
Use the monocle and apply the red lens. This will let you see the red markings on the map and on the ground in the park.

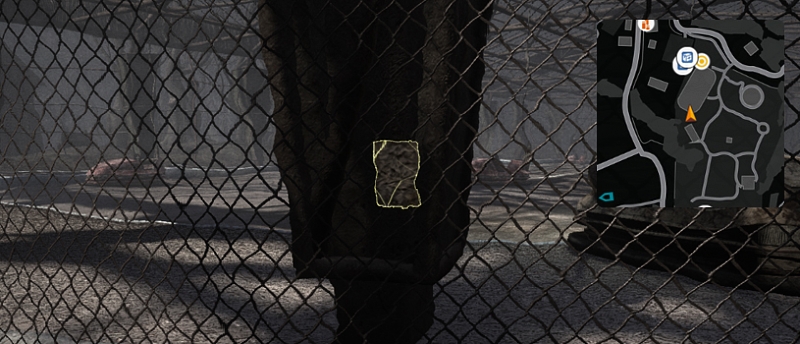
Once more, follow the red markings on the ground. They will lead you to the next part of the plans, which is hanging on the wall of one of the booths.

Tier 4
Objective: Find the fourth part of the plans
New plans, nothing interesting on them.
There is a pile of shattered blue glass on the ground nearby. Pick some up.
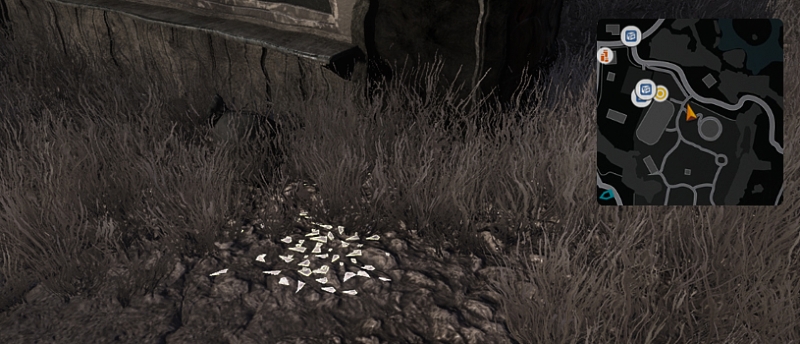
Use the monocle and apply the blue lens. This will let you see the blue markings on the map and on the ground in the park.
By following the blue markings, you will end up at the roller coaster. The next part of the plans is pinned to the fence.
Tier 5
Find the final part of the plans
As with the other plans there is nothing interesting on them at first glance.
There is no more glass to be found, but you may be able to use the glass you have already collected to create a new effect.
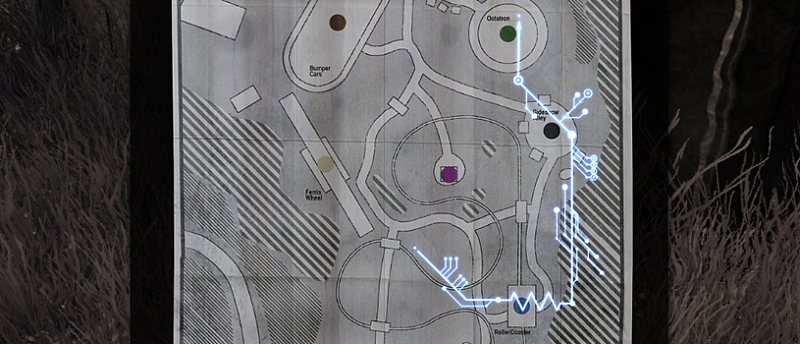
Use the monocle and apply both the blue lens and the red lens. This combination will produce a purple lens. This will let you see the purple markings.
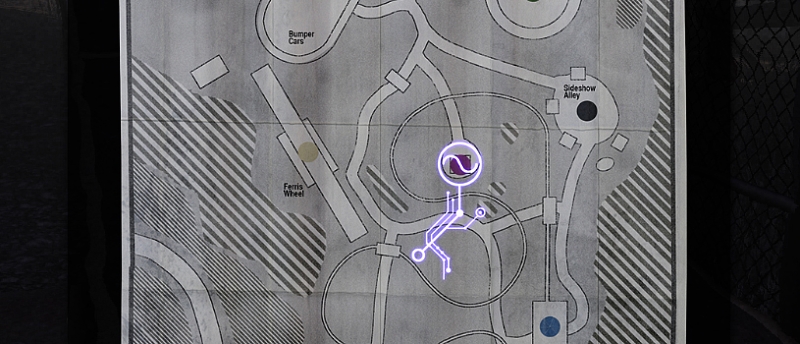
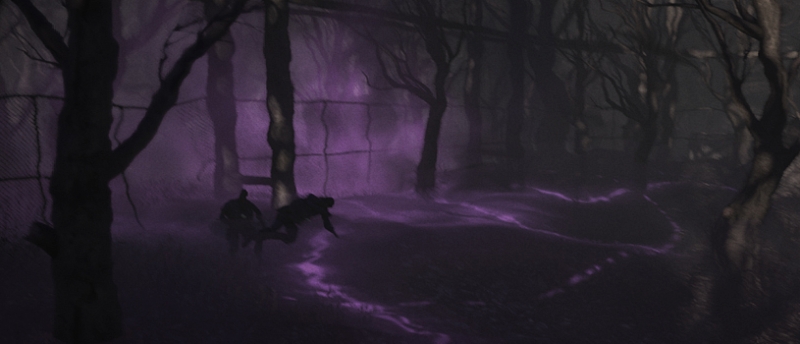
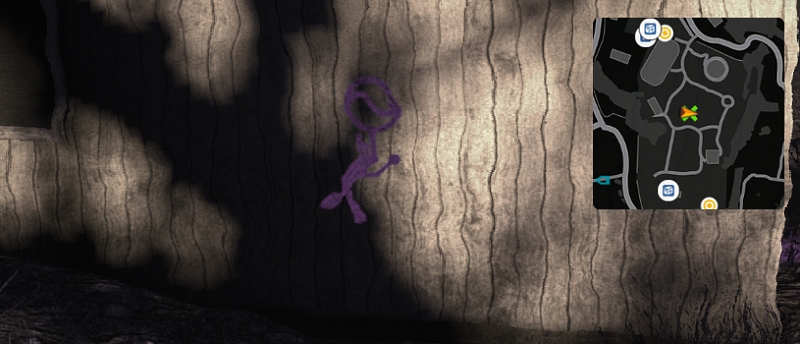
As with the previous tiers, simply follow the now unveiled markings on the ground to the next location, which is at the centre of the park. Approach the building there. You will see a purple marking on one of the wall.
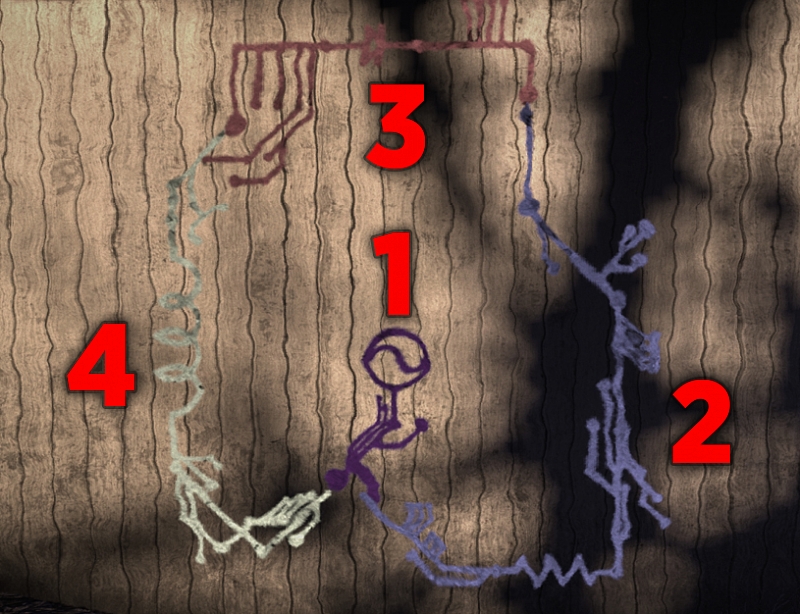
Objective: Complete the circuit diagram
Interact with the purple symbol on the wall.
Objective: Overload the circuit
The circuit consists of an AC voltage source, an inductor, a diode and a resistor. What to do?
We might be able to overload this circuit by backtracking the route we used to get here.
First click the AC voltage source (purple). Then the resistor (blue). Then the diode (red). And finally the inductor (white).
Upon overloading the circuit, watch as half a dozen Phoenician agents unknowingly run into a deathtrap. Mission accomplished!